This sample shows how to control a LED bar using your Raspberry Pi's GPIO port.
- Raspberry Pi running Rasbpian Linux
- .NET Core 3.0 installed. Instructions here
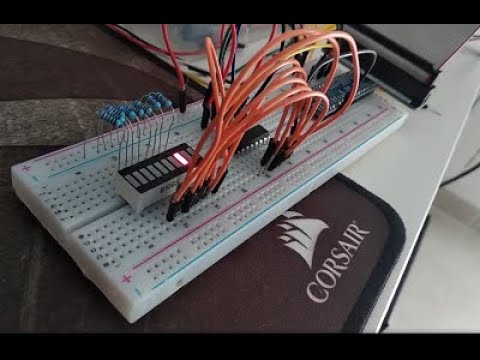
- LED Bar
- 74HC595
- Resistor 220Ω (x8)
- Cables for connections
- Breadboard
- GPIO extension shield (optional)
I have used the components from a very nice starter kit by Freenove. You can buy the kits here. Personally, I used the Super Starter Kit. The documentation and tutorials are very good, it's cheap and contains lots of components.

After you've connected every component as shown in the diagram, deploy your application to the Raspberry Pi and run the LedBarTest executable file.